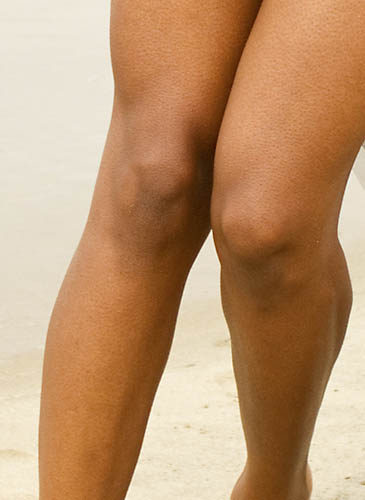
You know when your model has goosebumps – and you need to get rid of them, fast ?
Here’s a helpful tip: use the Smudge Tool to keep the natural shading/highlighting of your model’s skin.
Here’s how to do it:
1) Choose the Smudge Tool in your tool box (it resides with the Blur Tool) but looks like an index finger pushing down
2) Choose the Round Fan Stiff Thin Bristles brush – why ? because my theory is that it smooths your model’s skin around similar to the way
skin really looks, ie. cross-hatched. Take a close look at your own skin to see what I mean.
3) Choose a size relative to the area you are going to work on
4) note: the Smudge Tool doesn’t allow you to choose a hardness factor so …
5) Choose a strength: Start low at 10%. Stroke up and down and mix around. Play with it to see how much strength you need.
6) Oh my god you just made your model look as if she wasn’t shivering on that beach you shot on in the middle of December in Northern Cal.

